Over the past few days, I have been working on a tool that makes it easier for less experienced administrators to install and manage their own Vernissage instance.
I am happy to say that the first complete version is now working. Using vernissagectl, I was able to deploy an entirely new Vernissage instance under a new domain in just a few minutes.
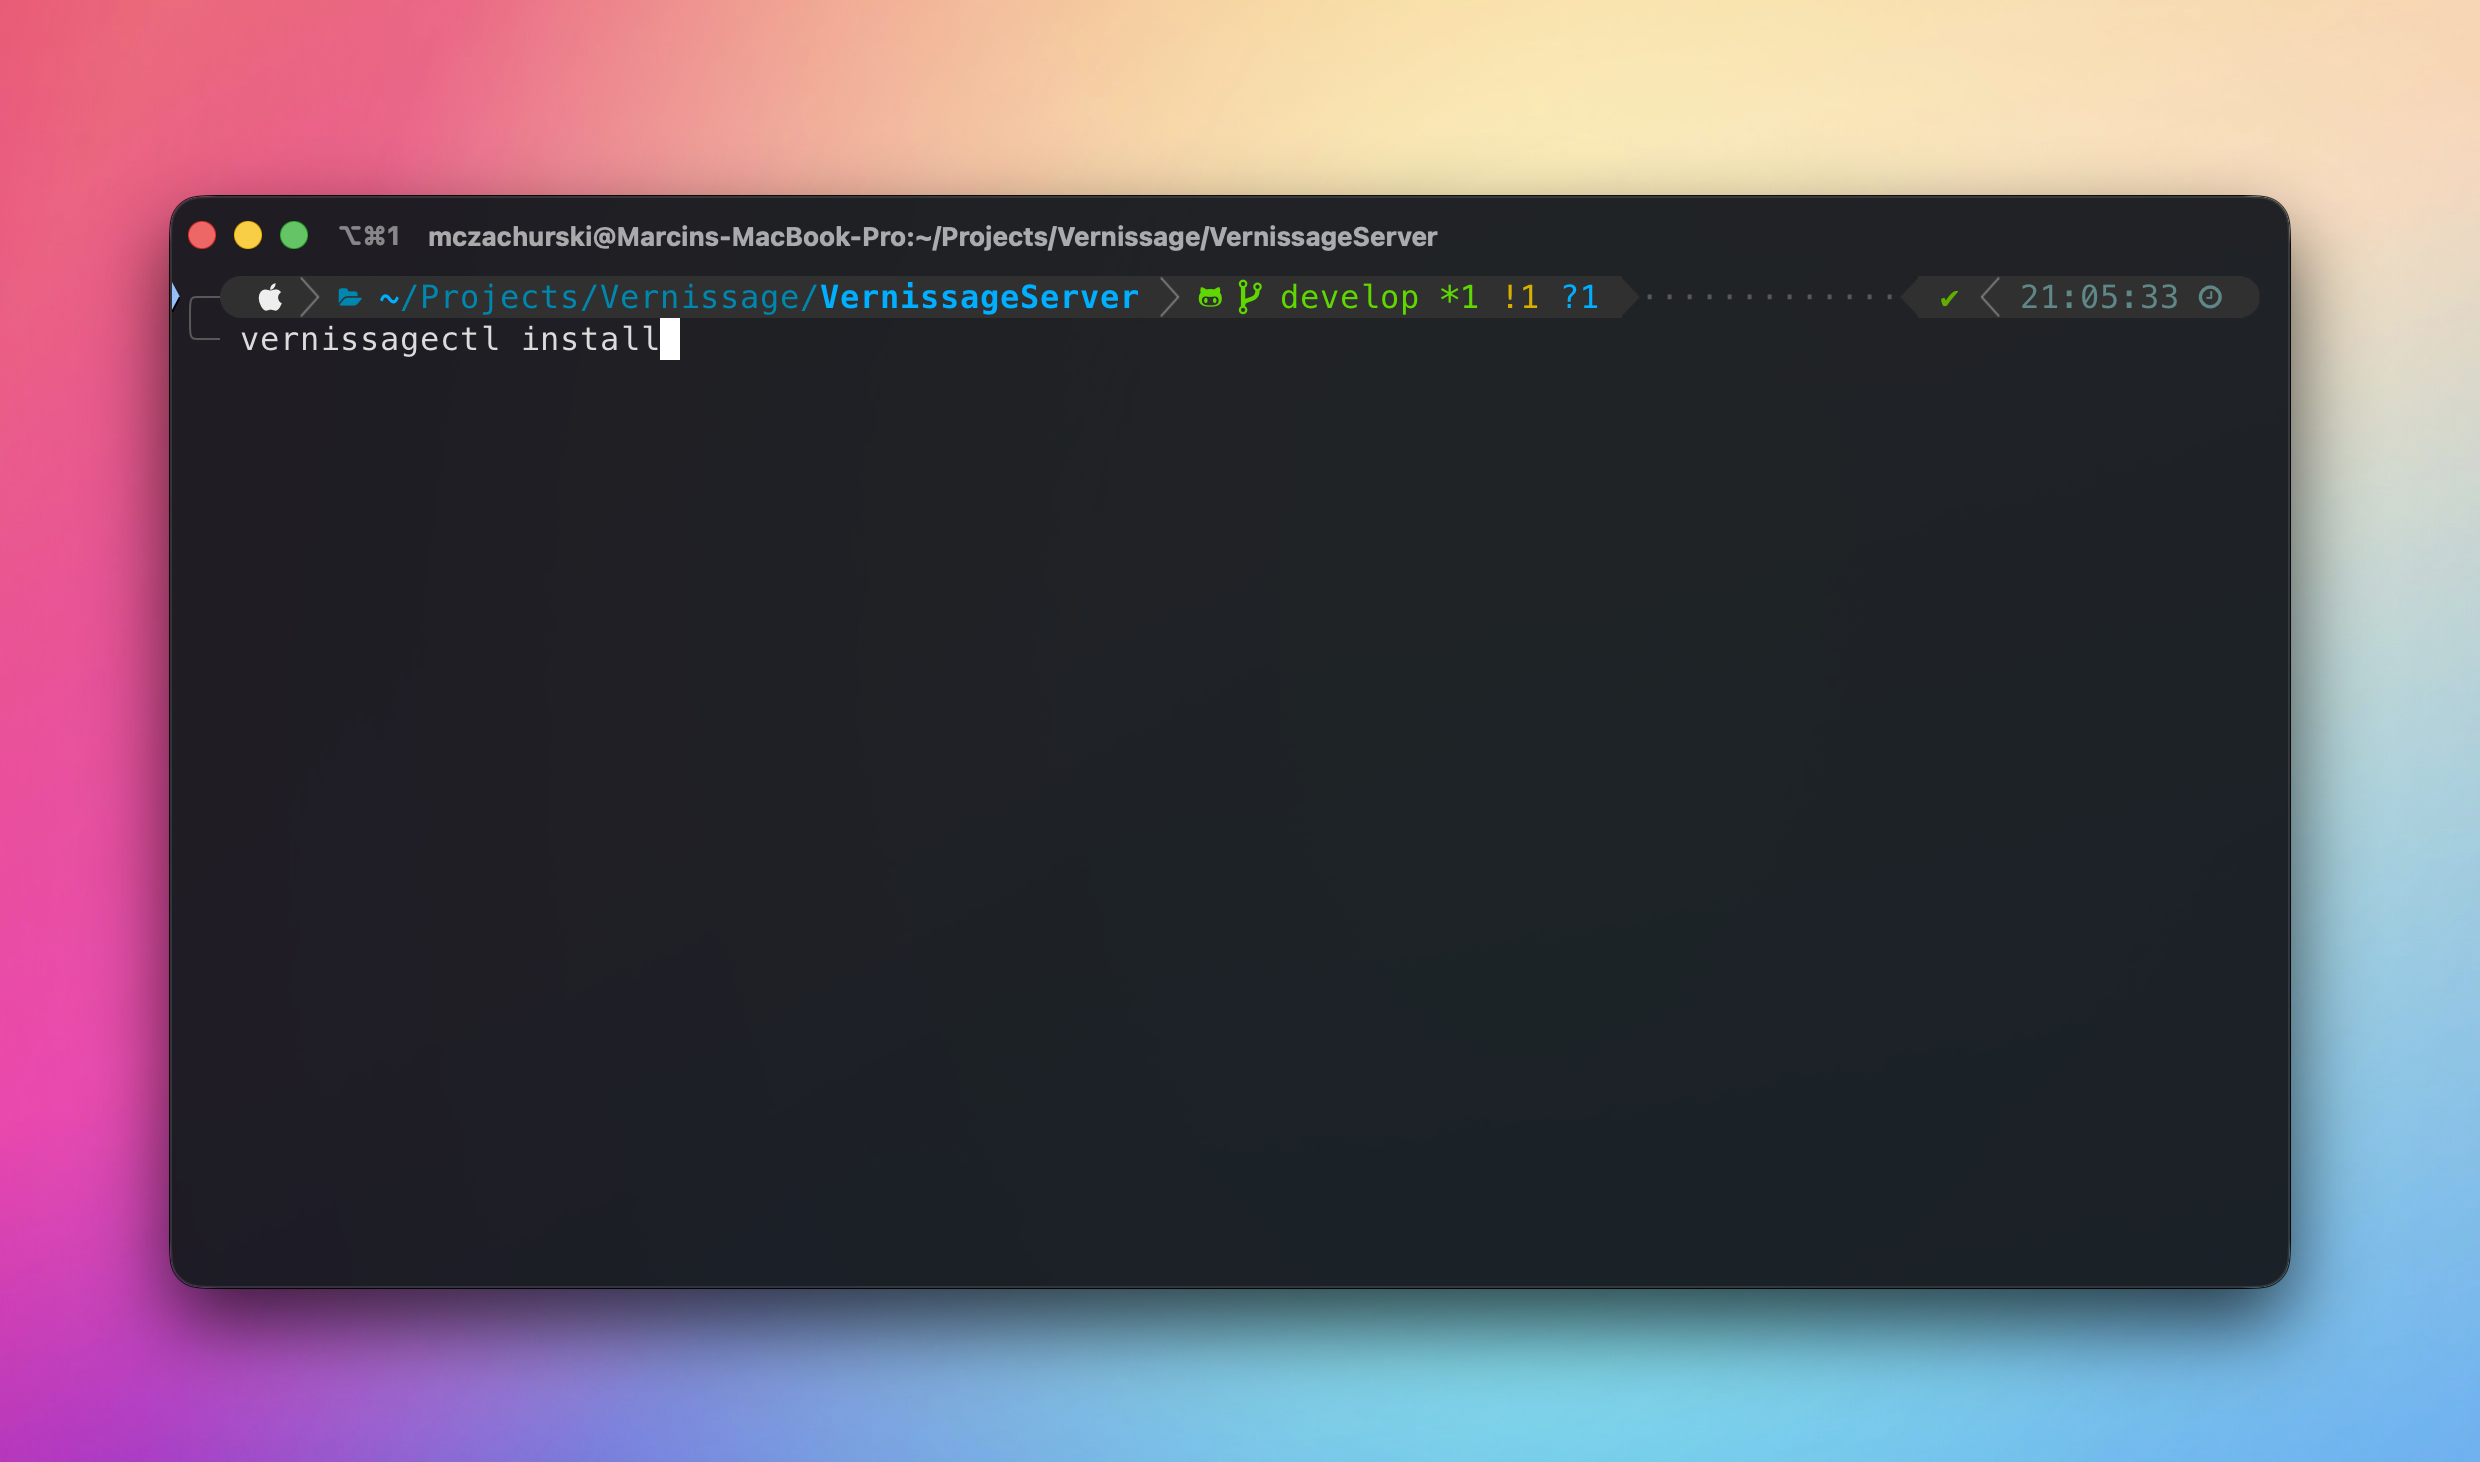
The process was surprisingly straightforward: I registered a domain, created an Ubuntu virtual machine in Azure, installed Docker and vernissagectl, and followed the installation wizard. Once it finished, I could immediately open the new instance and sign in with the administrator account created during setup.
Pretty simple!
You can find the source code, complete documentation, and available commands in the Vernissage Installer repository.
Important:
vernissagectlis currently experimental and undergoing production testing. The available features are already complete enough to install and perform basic management of a Vernissage instance, but you should still monitor your installation carefully and maintain regular backups.
Who is this installer for?
vernissagectl creates and manages a Docker-based installation on a single server. This makes it particularly suitable for small and medium-sized instances that do not expect very high traffic.
For larger installations, I recommend separating critical services across multiple machines or using managed infrastructure. The main vernissage.photos installation, for example, runs multiple instances of important services to provide redundancy and reduce downtime.
That level of complexity is usually unnecessary for a small community or personal instance, where running everything on one properly maintained server can be a reasonable starting point.
Before you begin
You will need a server and a domain name.
Server
Create a new server running Ubuntu 24.04. Both x86-64 and ARM64 are supported.
Your server should have:
- A static or reserved public IPv4 address, or a correctly configured public IPv6 address.
- Enough CPU, memory, and disk space for the expected number of users and uploaded photographs.
- Inbound TCP ports
80and443open. - SSH access, normally through TCP port
22.
If you use Azure, AWS, or another cloud provider, remember that ports may need to be opened both in the operating system firewall and in the provider’s network firewall or security group.
Restrict SSH access to trusted IP addresses whenever possible.
Domain
Register a new domain or create a subdomain for the instance, for example:
photos.example.com
Add the appropriate DNS record:
- An
Arecord for a public IPv4 address. - An
AAAArecord for a public IPv6 address.
Only create an AAAA record if the server has fully working public IPv6 connectivity.
You can check whether the record is resolving with:
dig +short A photos.example.com
dig +short AAAA photos.example.com
You can also use nslookup if dig is unavailable. Keep in mind that DNS changes may take some time to propagate.
Important: The domain becomes the permanent federated identity of your instance. Changing it later can break existing ActivityPub relationships, so choose it carefully before installation.
Recommended production services
The installer can create local PostgreSQL, Redis, and MinIO containers. This is convenient for smaller installations, but local Docker volumes are not backups. A disk or server failure may still cause permanent data loss.
For a production instance, consider preparing the following services in advance.
Managed PostgreSQL
A managed PostgreSQL service is strongly recommended. Ideally, it should provide:
- Automatic backups or snapshots.
- Point-in-time recovery.
- Monitoring and alerts.
- A documented upgrade procedure.
- Storage redundancy.
The installer can also create PostgreSQL locally if you prefer a simpler setup. If you choose this option, arrange regular off-server backups.
S3 object storage
You can use:
- AWS S3, which is currently the most thoroughly tested option.
- Another S3-compatible storage service.
- A local MinIO container created by the installer.
For AWS or another provider, create an S3 bucket and credentials that allow Vernissage to upload, download, and delete objects in that bucket.
A CDN such as CloudFront is optional, but it can reduce traffic to your storage service and improve image delivery for geographically distributed users.
Redis
Using a local Redis container is perfectly reasonable for most small installations. Redis is used for queues, distributed locks, and temporary data. PostgreSQL and S3 remain the primary sources of persistent application data.
Install Docker
Connect to the server over SSH:
ssh your-user@your-server-address
Install Docker Engine and the Docker Compose plugin using the official Docker installation instructions for Ubuntu.
After installation, verify that Docker is running:
sudo systemctl status docker
sudo docker run hello-world
By default, Ubuntu may require sudo to access the Docker daemon. This is normal.
Docker can also be configured for use without sudo, but adding a user to the docker group grants that user root-level privileges. Follow Docker’s official Linux post-installation guide and only grant this access to trusted administrators.
Install vernissagectl
Download and install the latest version:
curl -fsSL https://joinvernissage.org/install.sh | sudo sh
If you prefer, you can inspect the installation script before running it:
curl -fsSL https://joinvernissage.org/install.sh -o install.sh
less install.sh
sudo sh install.sh
Verify the installation:
vernissagectl --version
Run the installation wizard
If your user does not have permission to access Docker directly, run:
sudo vernissagectl install
If Docker works for your user without sudo, you can instead run:
vernissagectl install
Use the same privilege model for subsequent management commands.
The wizard will guide you through the complete installation, including:
- Checking Docker and Docker Compose.
- Verifying the instance domain and network configuration.
- Connecting to or installing PostgreSQL.
- Connecting to or installing Redis.
- Configuring AWS S3, another S3-compatible service, or local MinIO.
- Installing the Vernissage API and background jobs.
- Creating the permanent administrator account.
- Installing the web application and Web Push service.
- Building and configuring the Vernissage reverse proxy.
- Configuring HTTPS.
Read each question carefully. The recommended choices are a good default for most installations.
For a publicly accessible instance, select: Production HTTPS — Automatic Let's Encrypt certificate. For automatic certificate issuance to work, the domain must resolve to the server and ports 80 and 443 must be publicly reachable.
The development HTTPS option uses a locally issued certificate and is intended only for testing. Browsers and other devices will not trust it automatically.
After installation
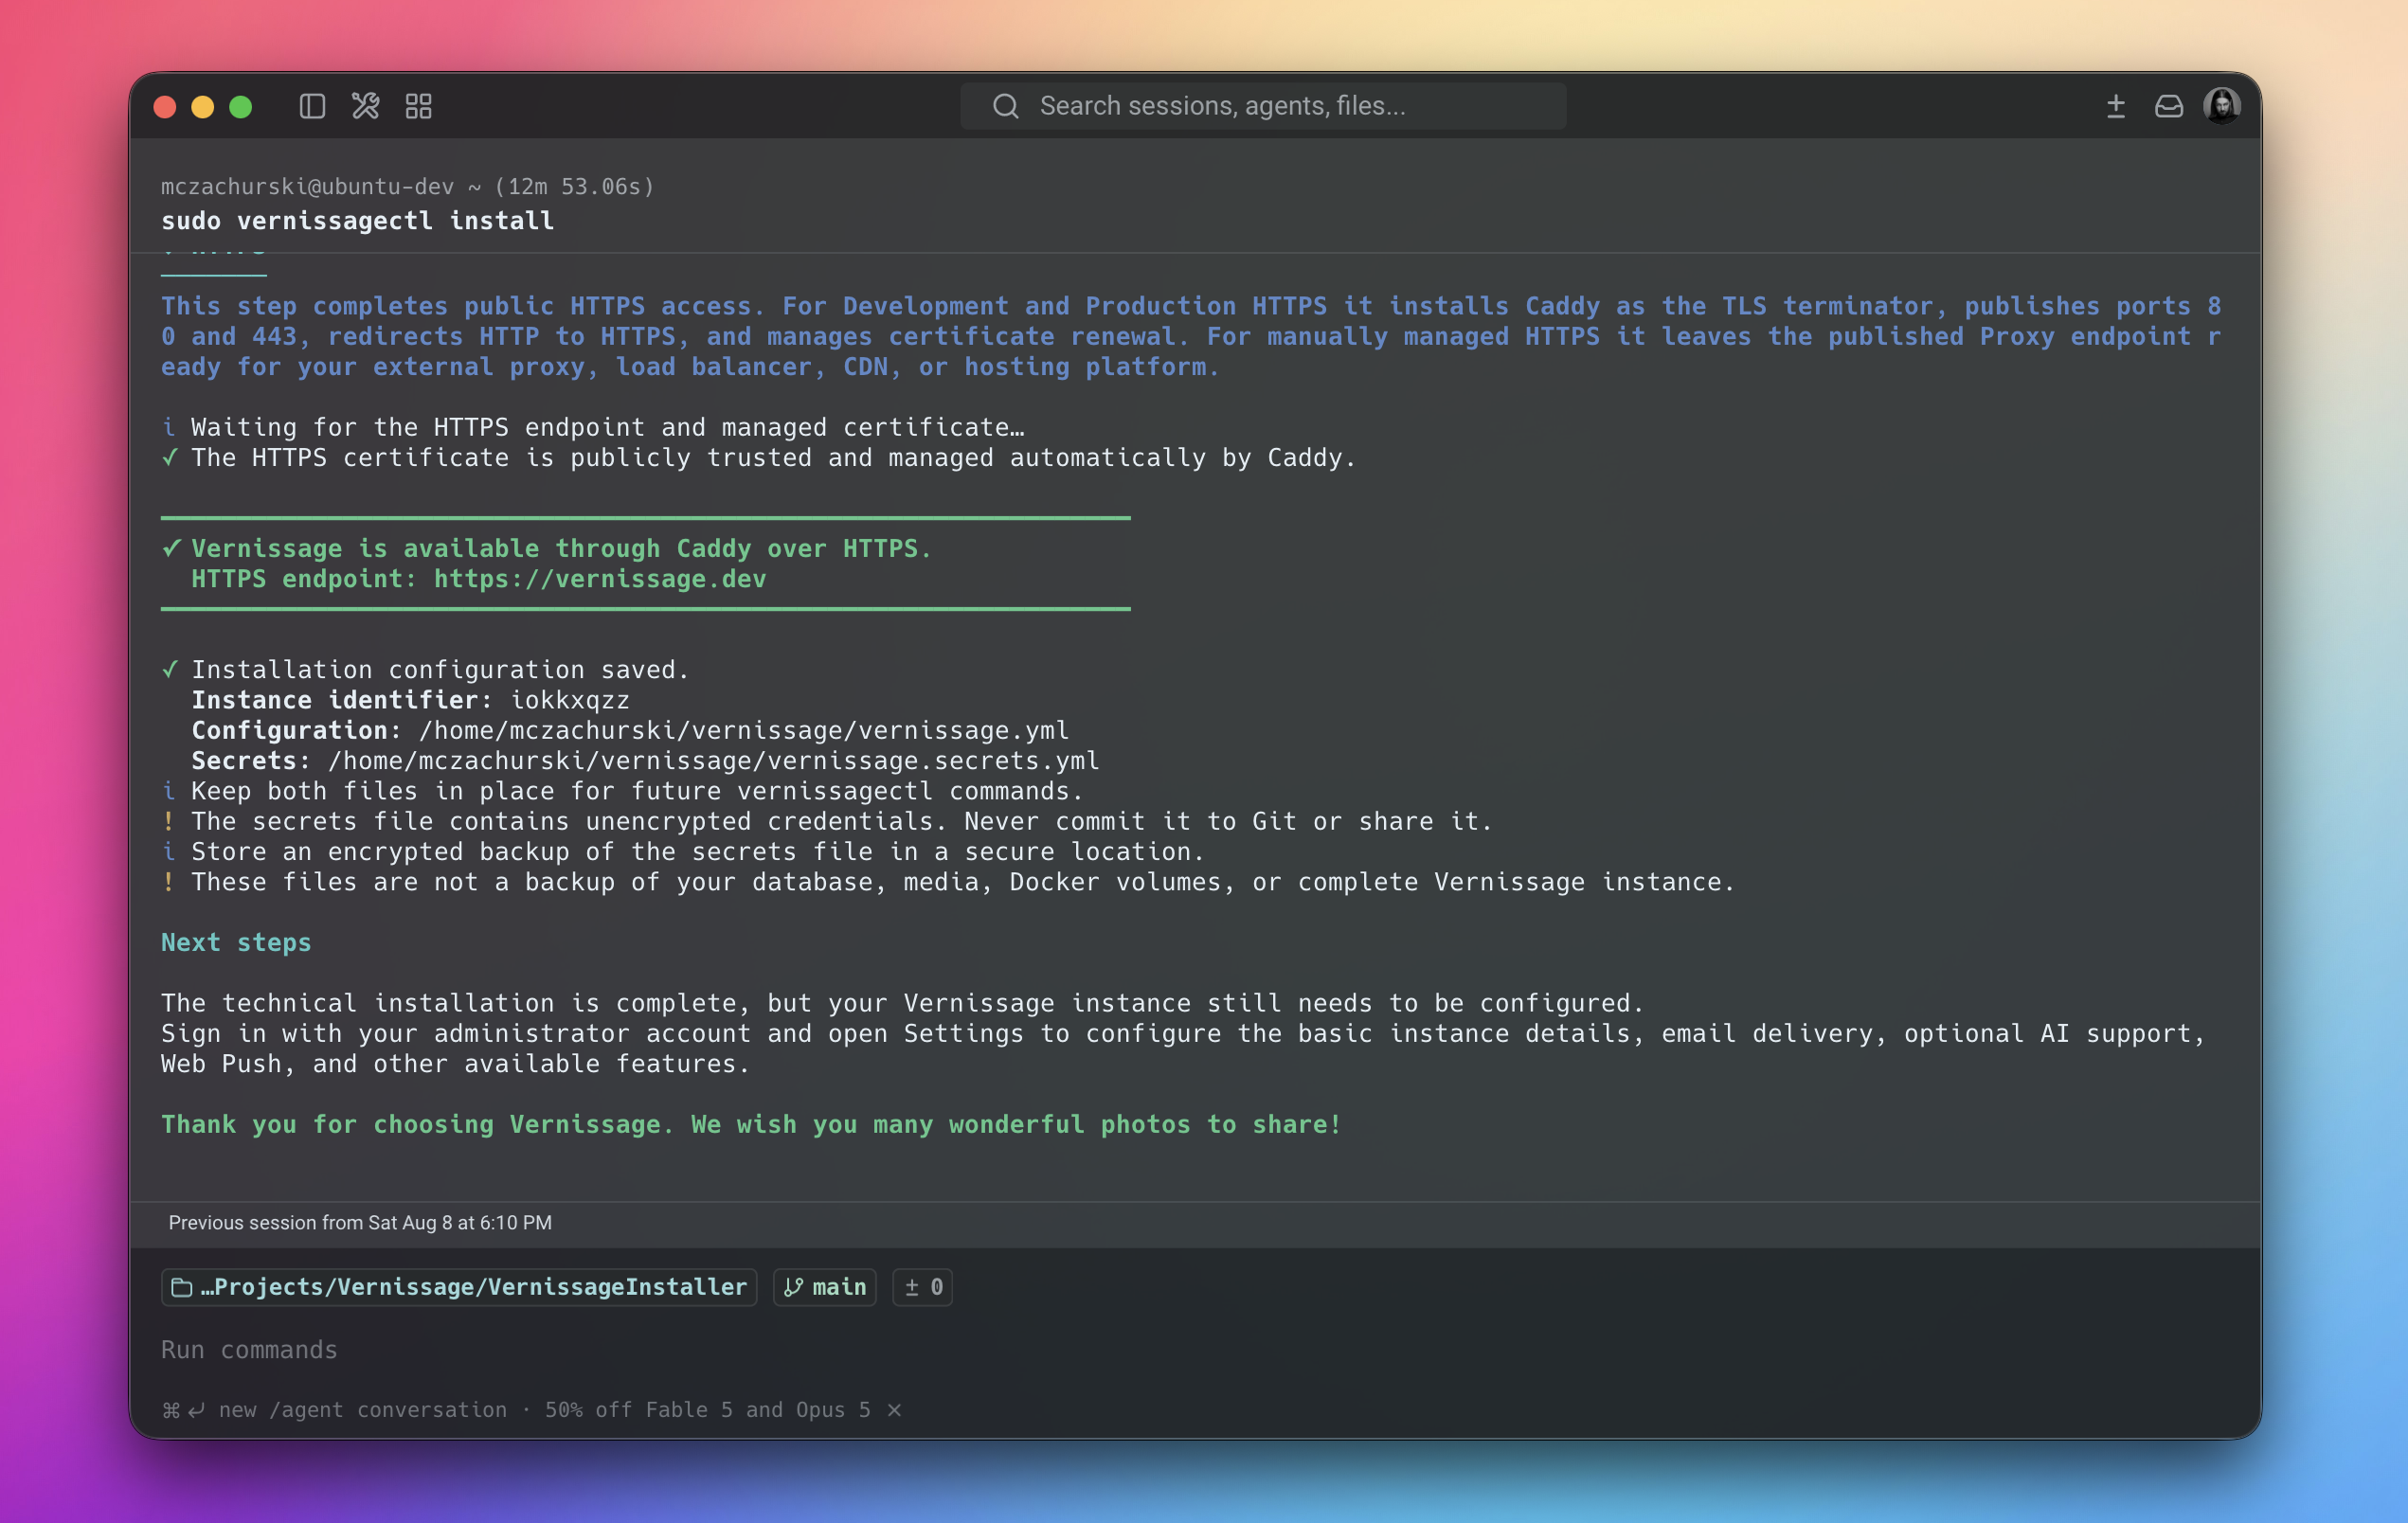
When all checks pass, the installer will display the HTTPS address of the new instance. Open it in a browser and sign in using the administrator account created during installation. The installer disables the default administrator login as part of the setup.
The technical installation is now complete, but the instance still needs some application-level configuration. Open the Settings page and review:
- Instance name and description.
- Administrator and contact information.
- Email and SMTP delivery.
- Registration and moderation settings.
- Web Push notifications.
- Optional AI integrations.
- Storage and image URL settings.
You can verify the installation from the server with:
sudo vernissagectl doctor
sudo vernissagectl status
Run the commands from the directory containing the generated configuration, or pass it explicitly:
sudo vernissagectl --config /path/to/vernissage.yml doctor
Keep the generated configuration safe
At the end of the installation, vernissagectl creates two important files:
vernissage.ymldescribes the installed services and allows future management commands to locate the correct containers.vernissage.secrets.ymlcontains sensitive credentials required to recreate or update the installation.
The installer will print their exact locations.
Do not commit vernissage.secrets.yml to Git or share it with anyone. Store an encrypted copy in a secure location. Losing the file may make future recovery and maintenance more difficult.
These configuration files are not backups of your database or uploaded photographs. You should still maintain separate backups of PostgreSQL and S3 or MinIO data, preferably outside the server.
That’s it 🎉
Your new Vernissage instance should now be online and ready to use.
Thank you for choosing Vernissage. I hope your new community grows into a great place for sharing many wonderful photographs!